Jekyll, Chirpy, Cloudflare Pages
Documentation on how to deploy a Jekyll-based blog using the Chirpy Starter theme on Cloudflare Pages.
Recently, while exploring various Cloudflare products, I stumbled upon Cloudflare Pages, a modern platform for deploying static websites. What immediately caught my attention was its impressive performance and seamless integration with Cloudflare Workers, which enables continuous integration and continuous deployment (CICD) workflows. Intrigued by these capabilities, I decided to migrate my blog from GitHub Pages to Cloudflare Pages to take advantage of these features. In this post, I’ll walk you through the setup process and demonstrate how to deploy a Jekyll-based blog using the Chirpy Starter theme on Cloudflare Pages.
Prerequisites
Before we begin, ensure you have the following:
- Github Account: You’ll need a GitHub account to manage the repository.
- Cloudflare Account: Sign up for a free Cloudflare account if you don’t already have one.
- Some familiarity with using Visual Studio Code and GitHub Desktop is recommended.
Step 1: Create the Github repository
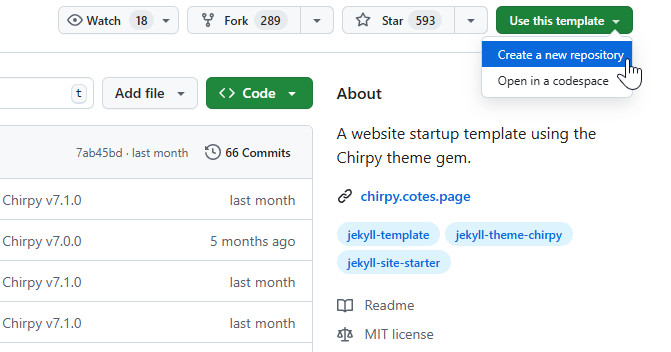
Visit Chirpy Starter, click on Use this template, and then select Create a new repository.
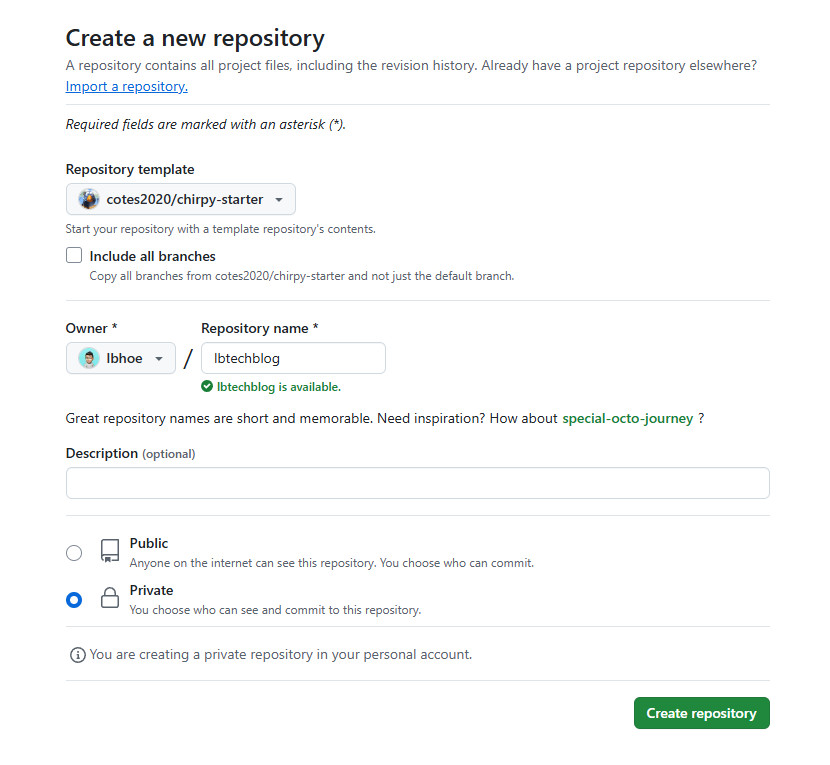
Create a private repository.
Unlike GitHub Pages, which only supports public repositories under the GitHub Free plan, Cloudflare Pages (Free Tier) allows the use of private repositories.
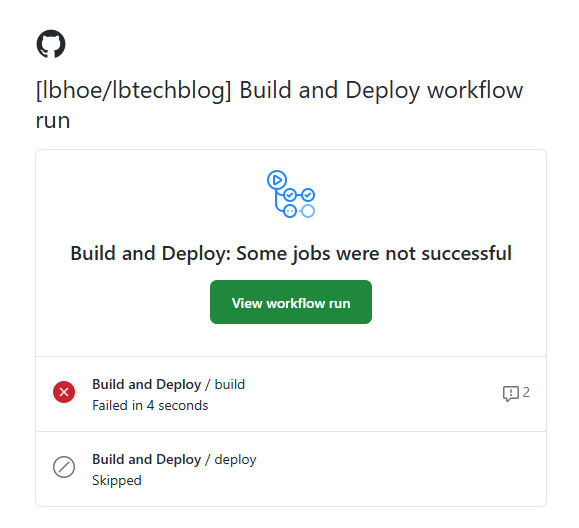
After the repository is created, you’ll receive an email notification indicating a failed job.
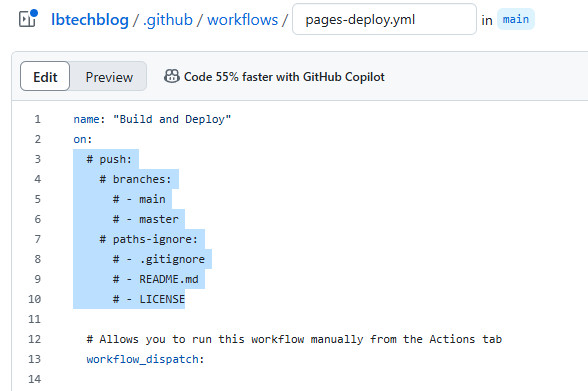
This occurs because the workflow is configured to run whenever a push to main or master is detected. To change this behavior, open .github/workflows/pages-deploy.yml and comment out the “push” condition. This will prevent new commits from triggering the workflow.
Step 2: Deploy to Cloudflare Pages
Navigate to Workers & Pages in the left-hand menu, and then click Create.
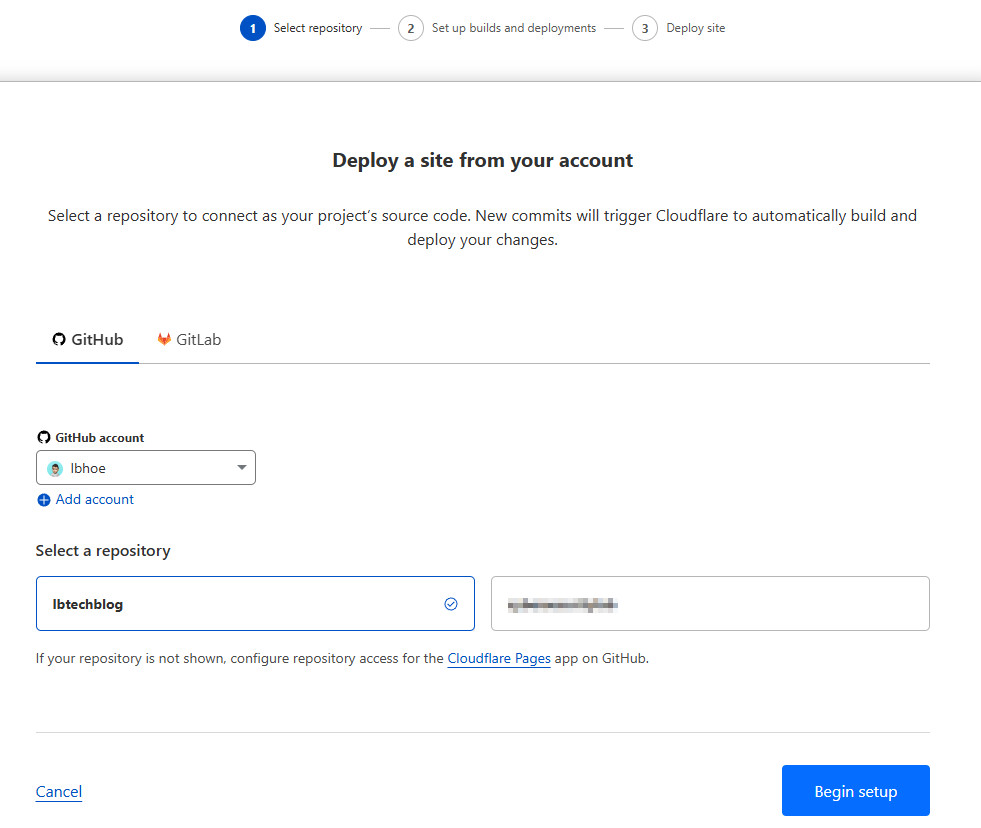
Create a new page by importing an existing repository.
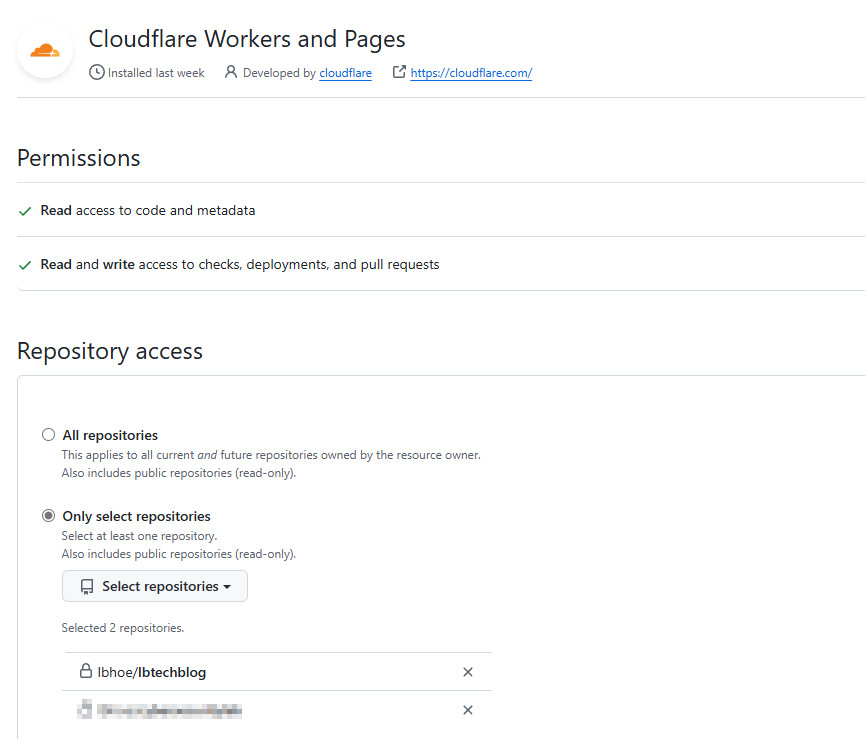
If your repository isn’t listed, adjust the repository access settings for the Cloudflare Pages app in GitHub.
Deploy a site from your account.
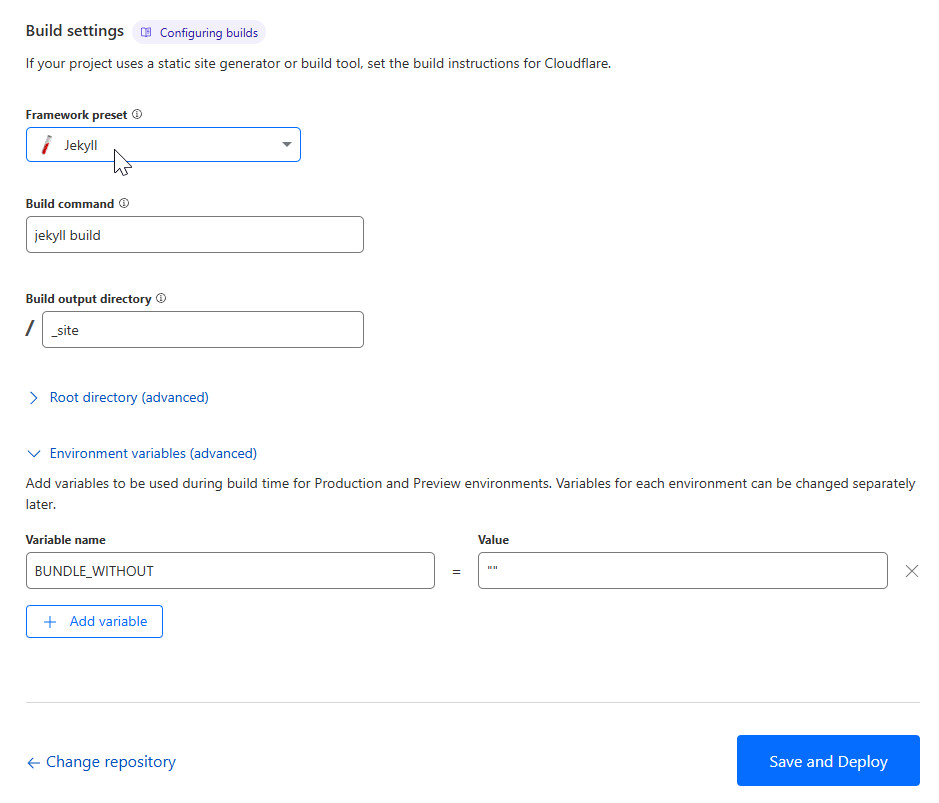
In the “Set up builds and deployments” section, choose Jekyll under “Build settings.” Next, under “Environment variables (advanced),” add BUNDLE_WITHOUT as the Variable Name and set its Value to "". Finally, click Save and Deploy.
Adding the environment variable is a crucial step, as the build command will fail if it is not configured. For more details, refer to this page.
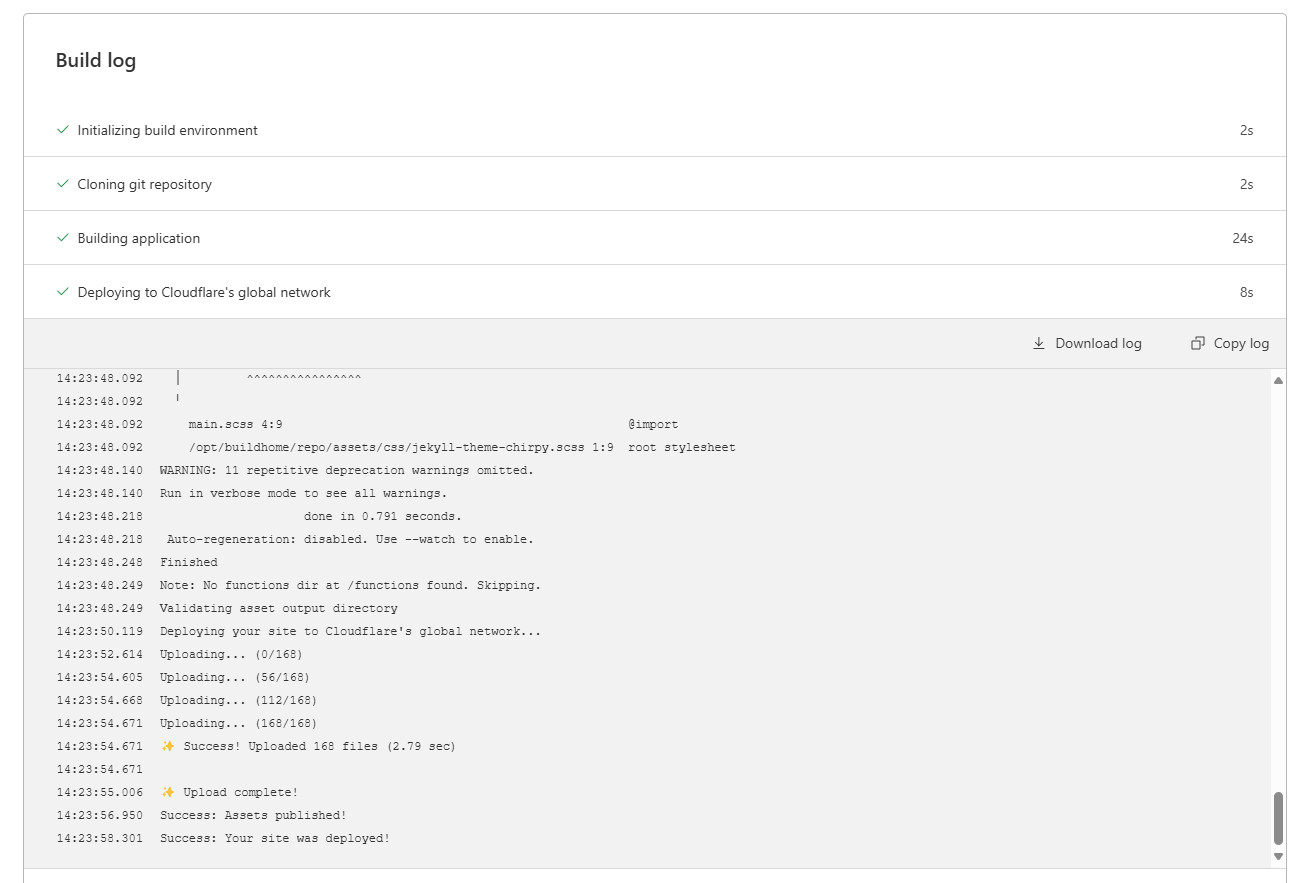
The site is now being built.
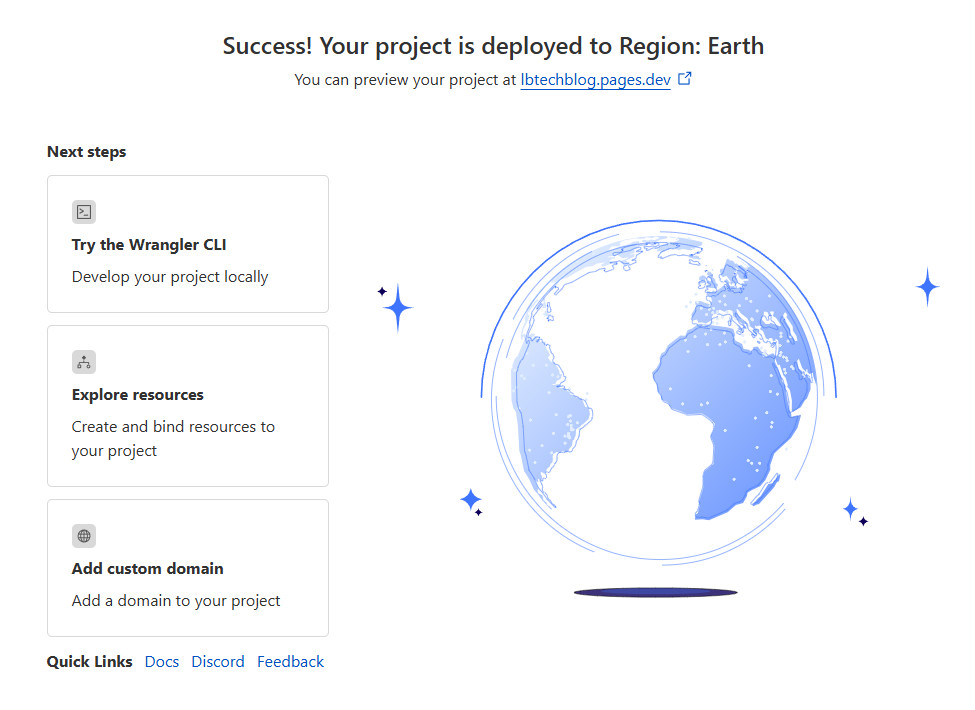
The project has been deployed successfully.
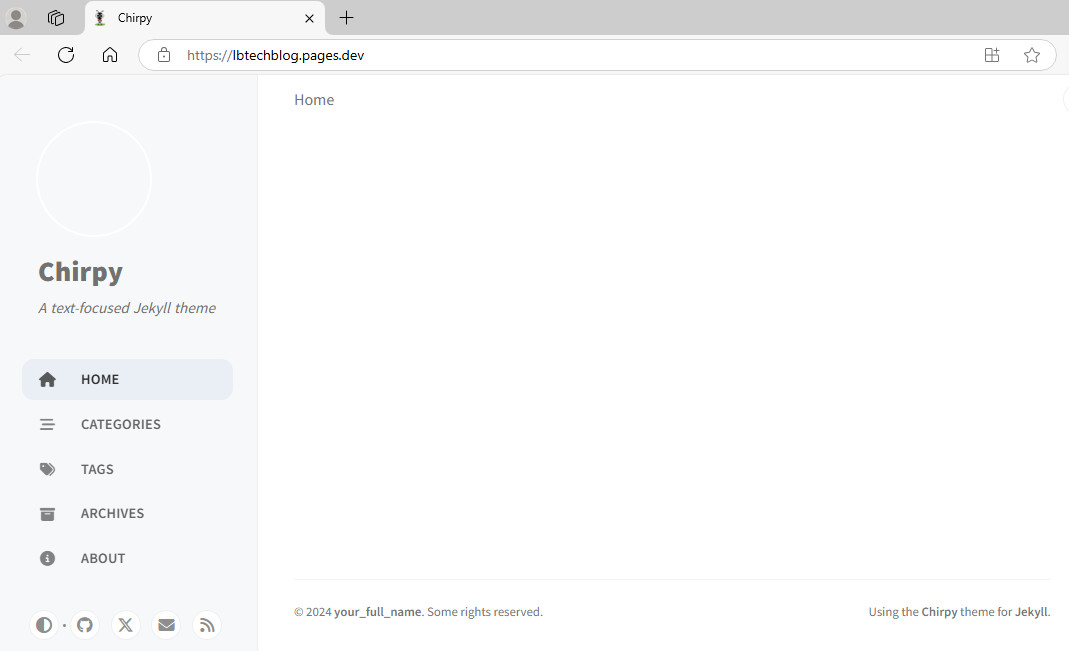
Confirmed that the site is accessible at https://{repo_name}.pages.dev.
Step 3: Modify the Blog’s Configuration
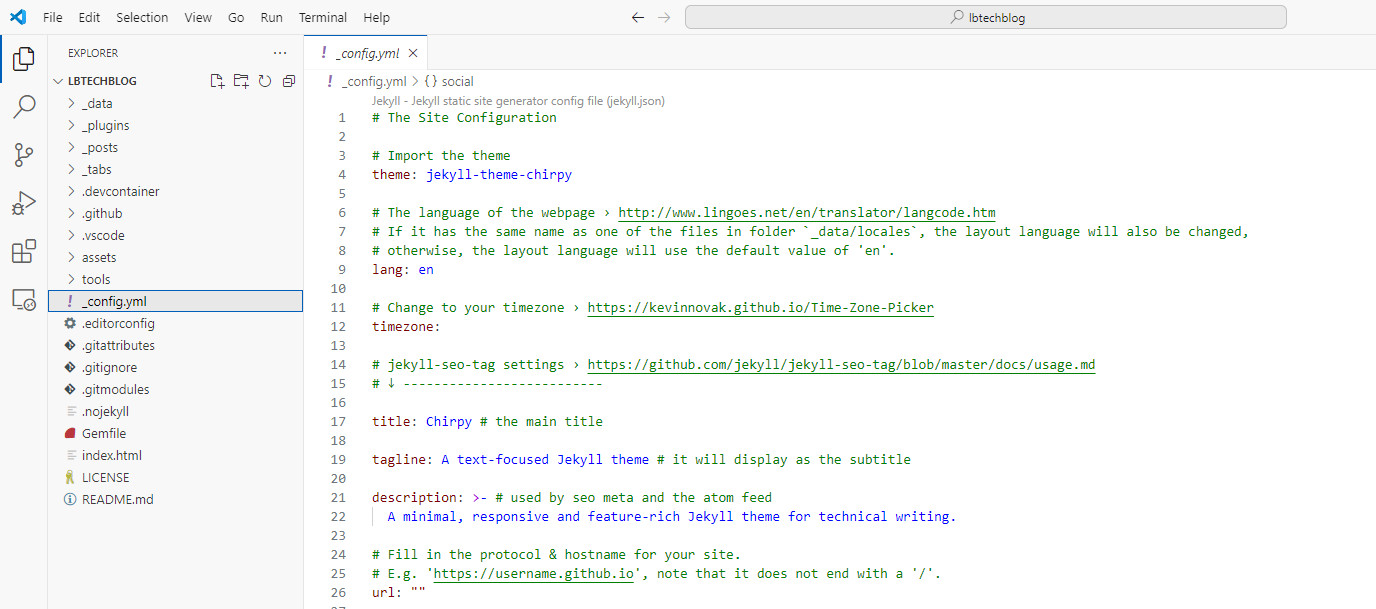
You can modify _config.yml to customize the site’s appearance.
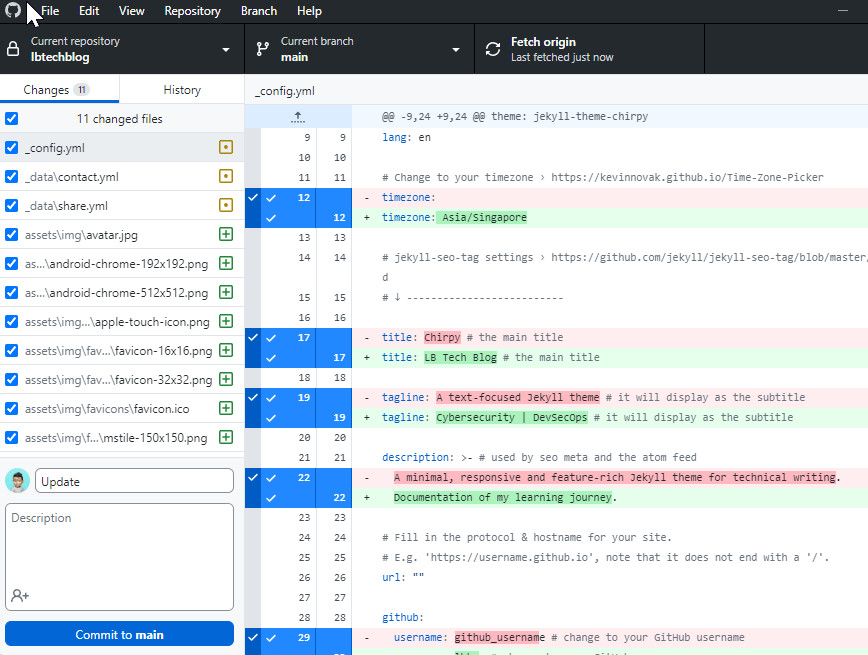
To customize the site’s appearance further, first add an avatar to assets/img and favicons to assets/img/favicons. Next, update the _config.yml, _data/contact.yml and _data/share.yml files. Once the modifications are complete, commit the updates to the main branch to apply them to the site.
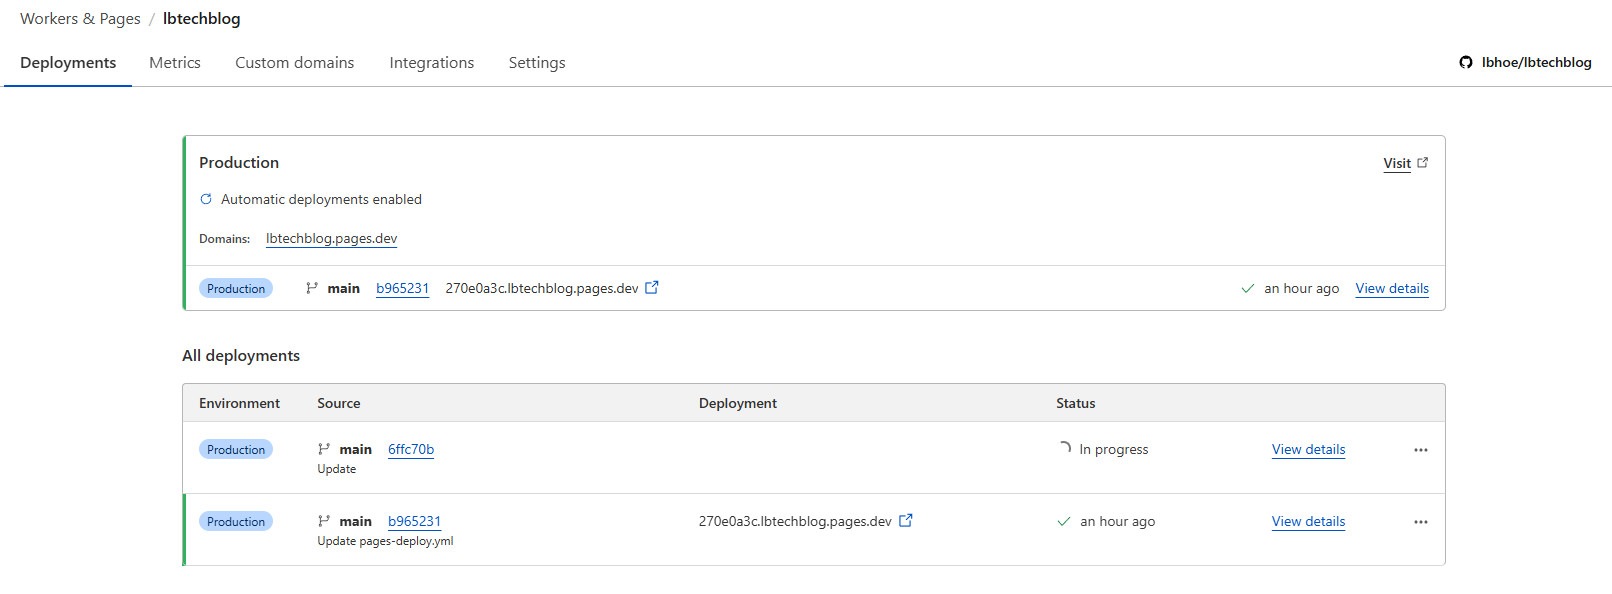
Automatic deployment has been initiated, and the status is currently in progress.
Deployment completed successfully.
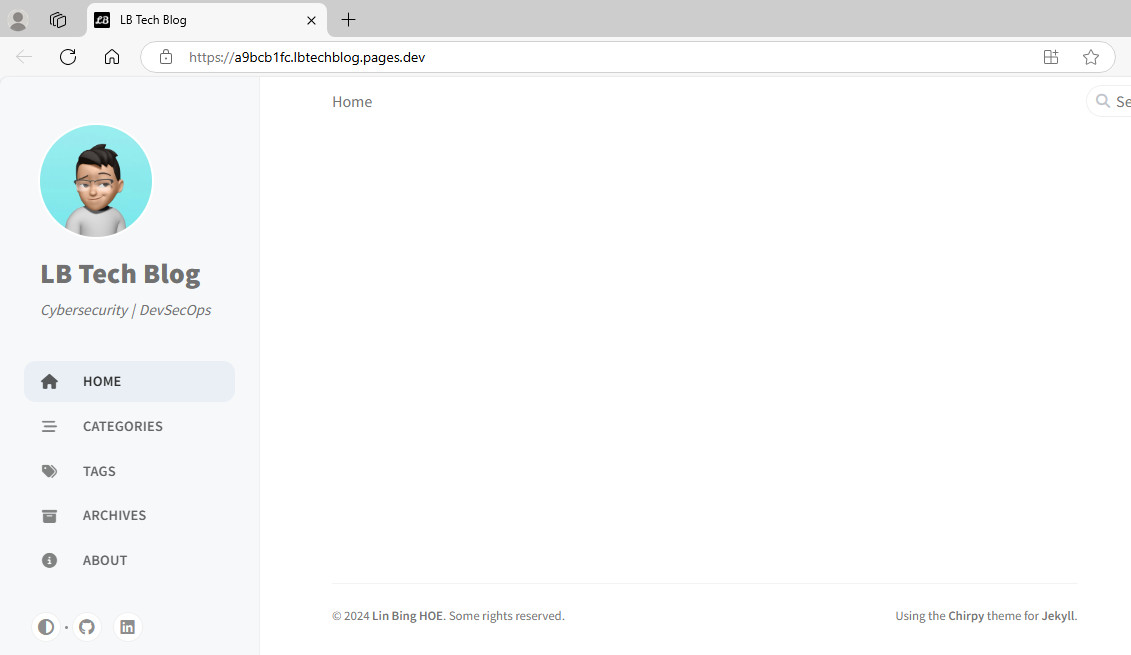
The website was updated successfully after the commit.
Step 4: Configure DNS and Custom Domain (Optional)
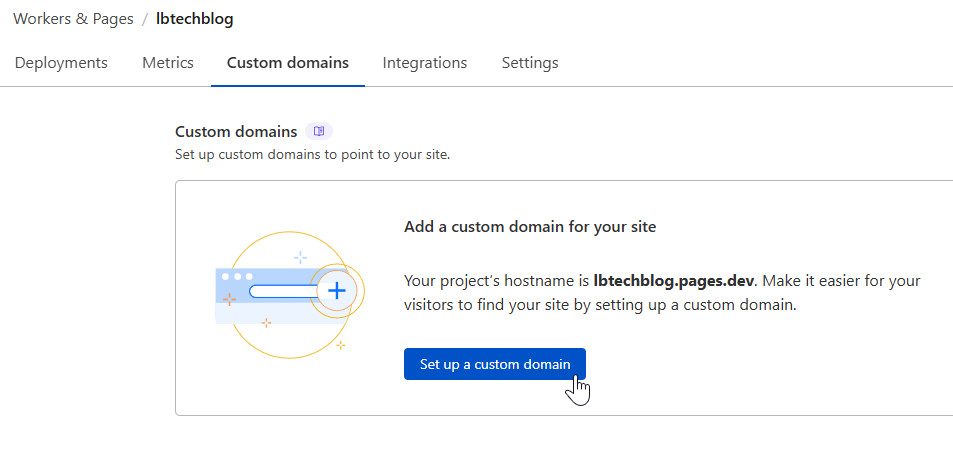
In the Cloudflare dashboard, navigate to Workers & Pages > {repo_name} > Custom domains, and click on Set up a custom domain.
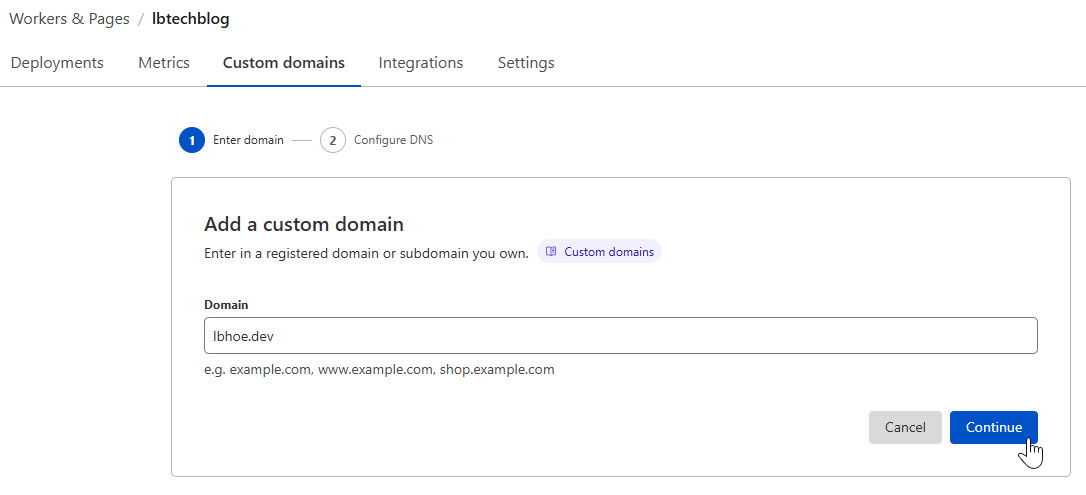
If you don’t have a custom domain, you can purchase one from Cloudflare Registrar.
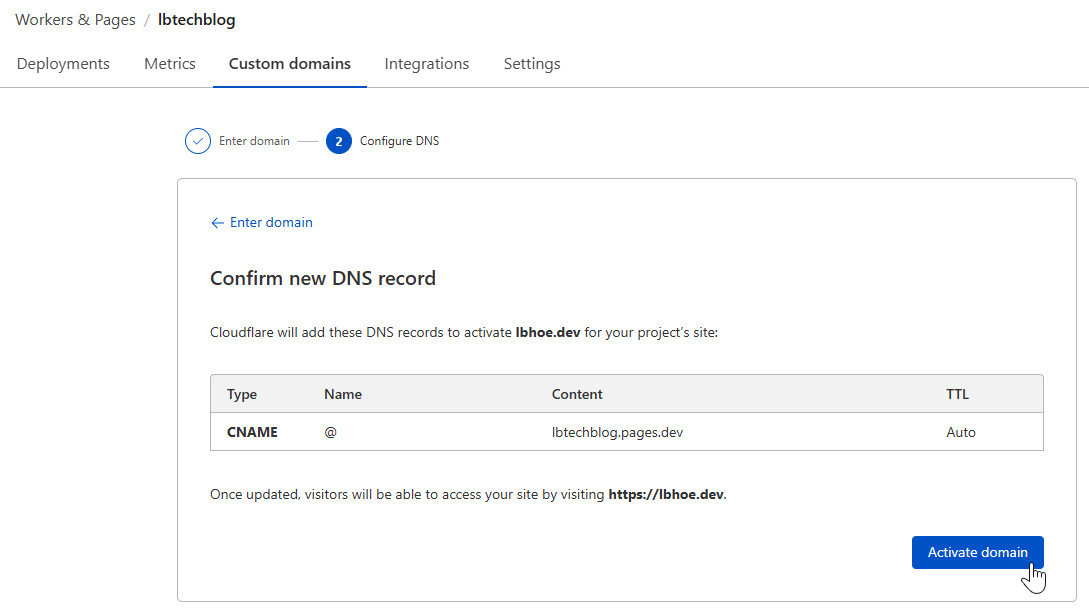
Select Activate domain to add a DNS record.
After a successful update, the status will display as Active.
Conclusion
Deploying a Jekyll-based blog with the Chirpy Starter theme on Cloudflare Pages is not that difficult. By following this guide, you should have a fully functional, continuously deployed blog that benefits from Cloudflare’s robust infrastructure.
For further customization, refer to the Chirpy theme documentation and explore additional Jekyll plugins to extend your site’s functionality.
